

Your graduation cap is so much more than just a piece of cardboard and fabric. It’s the final touch on years of hard work, a personal billboard to share your personality, your dreams, or a heartfelt thank you. Think of this guide as your creative partner in turning that blank square into a statement piece you’ll be proud to wear with your high school regalia.
Your Guide to a Memorable Graduation Cap
High school graduation isn't just a ceremony; it's a huge milestone. Decorating your cap has become a fantastic tradition that lets you stand out in a sea of matching gowns and show everyone a bit of who you are. It’s your chance to put your personality on full display, whether that means repping your future college, thanking your parents, or sharing a quote that got you through late-night study sessions. This is one of the most popular ways to customize your commencement look.

We’ve put together this guide to make this project fun and stress-free. We’ll walk through everything you need to know, from checking your school’s rules to brainstorming themes that actually feel like you. Consider this the first step in creating a keepsake you’ll cherish long after the ceremony ends.
Understanding the Basics
Before you break out the glitter and glue guns, there are a few things to sort out. The goal is to design a cap that not only looks amazing but also gets the green light for the ceremony. A great starting point for any creative project is figuring out what you like, so take some time to think about how to find your personal style, which can really guide your design choices for one of these unique high school graduation cap ideas.
Here's what to consider first:
- School Rules: This is the most important first step. Check your school's policy on cap decorations. Some are super flexible, while others have strict guidelines about what you can (and can't) do. Don't risk having your hard work confiscated on the big day!
- Brainstorming Themes: What story do you want your cap to tell? Your future plans, a tribute to your family, or a nod to a favorite hobby are all fantastic places to start for your custom graduation cap.
- Coordinating Your Look: Remember, your cap is part of a whole outfit. It’s the perfect accessory to complement your official academic regalia, pulling together your entire look for the big day.
A well-planned graduation cap does more than just look good in photos—it tells a story. It’s a visual representation of your past achievements and future aspirations, making the moment you cross the stage even more meaningful.
Making It Your Own
Honestly, the best high school graduation cap ideas are the ones that feel authentic to you. Don't be afraid to mix and match concepts. Why not combine your college colors with a quote that inspired you? This project is all about creativity and celebration.
As you plan, keep in mind that your cap is just one piece of the puzzle. It has to work with your gown, tassel, and any stoles or cords you've earned. For instance, if you’re wearing one of Gradshop's high-quality high school caps and gowns, a custom cap adds that perfect, personal touch. It’s the final detail that makes your entire graduation look a true reflection of your hard work and individuality.
Building Your Decoration Toolkit
Before you can bring your masterpiece to life, you've got to gather the right gear. Getting all your supplies together first makes the whole process way more fun and a lot less of a last-minute scramble. Think of it as your pre-game prep for a major creative moment.
The secret to a great cap design often starts with a solid foundation. While you can decorate directly on the cap, a ton of students prefer to work on a piece of cardstock cut to size. This gives you the freedom to experiment without messing up the actual cap—a smart move, especially if your school makes you return it.
The Essential Crafting Supplies
Let's start with the basics. These are the workhorse tools you'll need for almost any design. You probably have a bunch of these lying around the house already.
- Cardstock or Sturdy Paper: Grab a square of cardstock that matches your cap color (usually black) and cut it to the exact size of your mortarboard. Measuring is everything here! For a perfect fit, you'll want to know the standard graduation cap size.
- Precision Cutting Tools: A sharp pair of scissors is a must, but a craft knife (like an X-Acto blade) is a game-changer for detailed shapes and letters. Always use a cutting mat to save your table from scratches.
- Paint and Markers: Acrylic paints are fantastic for getting vibrant, solid color on cardstock. If you're doing fine details or lettering, I highly recommend oil-based paint pens. They won't bleed like regular markers and give you a super crisp line.
- Pencil and Eraser: This is non-negotiable. Always, always sketch your design lightly in pencil first. It lets you figure out spacing and proportions before you commit to anything permanent.
Adding Personality with Embellishments
Okay, this is the fun part. This is where your cap stops being just a cap and starts being yours. Embellishments add texture, sparkle, and that 3D quality that really makes a design pop. Don't be shy about mixing and matching different things to create a look that's totally unique.
Your graduation cap is a canvas for your story. The materials you pick—from the glitter that catches the stage lights to the flowers that add a soft touch—are the words you use to tell it. Choose things that feel like you.
Here are some go-to options for adding that extra flair:
- Rhinestones and Faux Pearls: These are perfect for outlining letters, creating sparkly borders, or filling in shapes. They come in tons of sizes and colors, and you can often find them with self-adhesive backs, which makes life a lot easier.
- Faux Flowers and Greenery: Small silk or paper flowers can create a really beautiful, elegant vibe. They add a soft, dimensional touch that's great for floral themes or just as a simple accent.
- Glitter: A classic for a reason! Whether you're using loose glitter with glue or just buying glitter cardstock, it's a guaranteed way to make your cap stand out. A little goes a long way.
- Printed Photos or Logos: Make it personal by adding a small photo of your family, friends, or even your pet. The logo of your future college is another popular choice. Just be sure to print it on good quality photo paper.
- Vinyl Lettering: If you want a super clean, professional look for your favorite quote, vinyl lettering is the way to go. If you have access to a Cricut or similar machine, this is a breeze.
Securing Your Masterpiece: Choosing the Right Adhesive
The last thing you need is your hard work falling apart before you even get your diploma. Picking the right glue is honestly one of the most critical steps. It’s what ensures every single piece of your design stays put, from the moment you walk in to the final, celebratory cap toss.
Different materials need different glues to create a strong bond. A simple glue stick might be fine for lightweight paper, but heavier things like gems or big flowers need something with more muscle.
Choosing the Right Adhesive for Your Cap Decorations
This table compares common adhesives to help you select the best one for different materials, ensuring your decorations stay secure.
| Adhesive Type | Best For | Drying Time | Pro Tip |
|---|---|---|---|
| Hot Glue Gun | Heavier 3D items like faux flowers, bows, and large gems. | Fast (seconds) | Work quickly and use it sparingly to avoid those messy, stringy bits of glue. |
| Craft Glue | Rhinestones, glitter, paper, and lightweight fabric. | 30-60 minutes | Look for a formula that dries clear. It makes for a much cleaner, professional finish. |
| Fabric Glue | Securing fabric elements or ribbon directly to the cap. | Several hours | This glue creates a flexible bond that moves with the fabric so it won't crack. |
| Double-Sided Tape | Attaching your finished cardstock base to the cap. | Instant | Make sure you get a strong, permanent version. You need it to hold all day long. |
Once you’ve picked the right adhesive for your materials, do a small test on a scrap piece of paper first. It’s a simple step that can save you from a major headache later on.
Bringing Your Graduation Cap Design to Life
Okay, you’ve got your materials and a killer idea. Now for the fun part: making it real. This is where your vision starts to pop off the Pinterest board and onto your cap. Let's get into the practical side of things so your design looks sharp, clean, and ready for its moment in the spotlight.
Here’s a pro tip that’s saved countless caps from a last-minute disaster: create a removable base. Just grab a piece of black cardstock and cut it to the exact size of your mortarboard. Why? It gives you a no-pressure canvas to perfect your design. You can paint, glue, and rearrange everything without worrying about messing up the actual cap your school gave you.
Nailing the Layout and Transfer
A great design starts with a balanced layout. Before you break out the glue, lay all your pieces—your letters, flowers, rhinestones, whatever you’re using—on the cardstock base. Move things around. Step back. Take a picture with your phone to see how it looks from a distance. Does the main message stand out? Is it centered? Fiddle with it until it just feels right.
Once you’ve settled on the perfect arrangement, you need to get the design onto the cap. You can Master various techniques on how to transfer designs onto fabric, but for a graduation cap, a light pencil sketch is your best friend. It acts as a faint guide that paint or glitter will easily cover up. For lettering, stencils are a game-changer for getting those flawless, professional-looking lines.
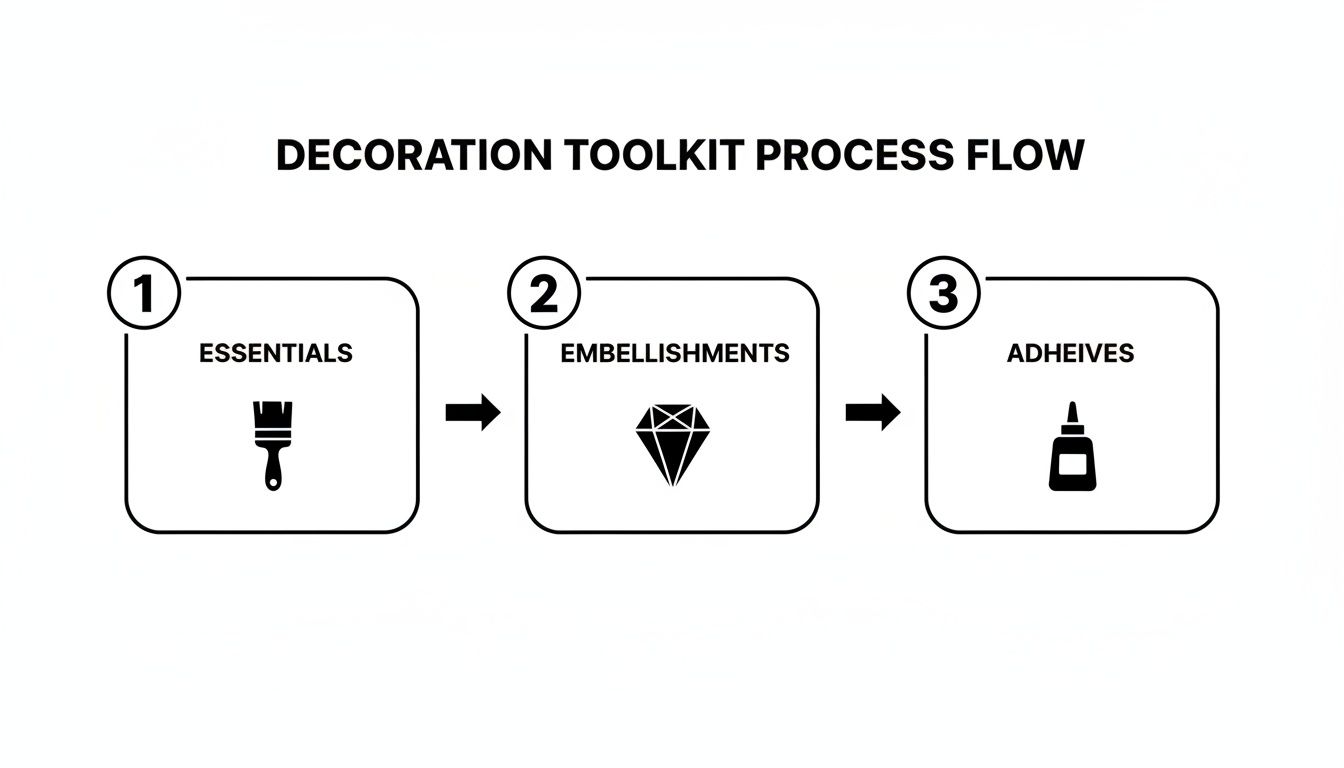
Think of it this way: having the right tools for each stage—the base, the bling, and the bond—is what makes the whole process go smoothly.
Applying the Finishing Touches
Time to add the color and sparkle. If you're painting, stick with thin, even coats. Let each layer dry completely before adding the next to avoid any smudges or clumps. For those super-crisp edges, painter's tape is a lifesaver. Just tape off the sections you want to protect, paint, and peel it away for a perfectly clean line.
Working with rhinestones? A wax pencil or a good pair of tweezers will give you the precision you need to place each gem exactly where you want it. A tiny dot of strong craft glue is all it takes—just apply and press gently but firmly.
If you’re going big with 3D elements like bows or large flowers, think in layers. Start by attaching the flattest items first and then build up. For these heavier pieces, a hot glue gun is usually your best bet. It creates a solid bond that will hold up through the whole ceremony and all the celebration that follows.
The secret to a jaw-dropping graduation cap isn’t just a great concept—it's taking your time with the execution. From the initial sketch to gluing on that last rhinestone, thoughtful work is what turns a craft project into a piece of art you'll be proud to wear.
Popular Themes for Your Graduation Cap
So, you’ve got a blank cap and a world of possibilities. Where do you even start? If you're drawing a blank, don't worry—you're in the right place. Think of your cap as the final project of your high school career, a small canvas to tell a big story about where you've been, where you're going, or who helped you along the way.
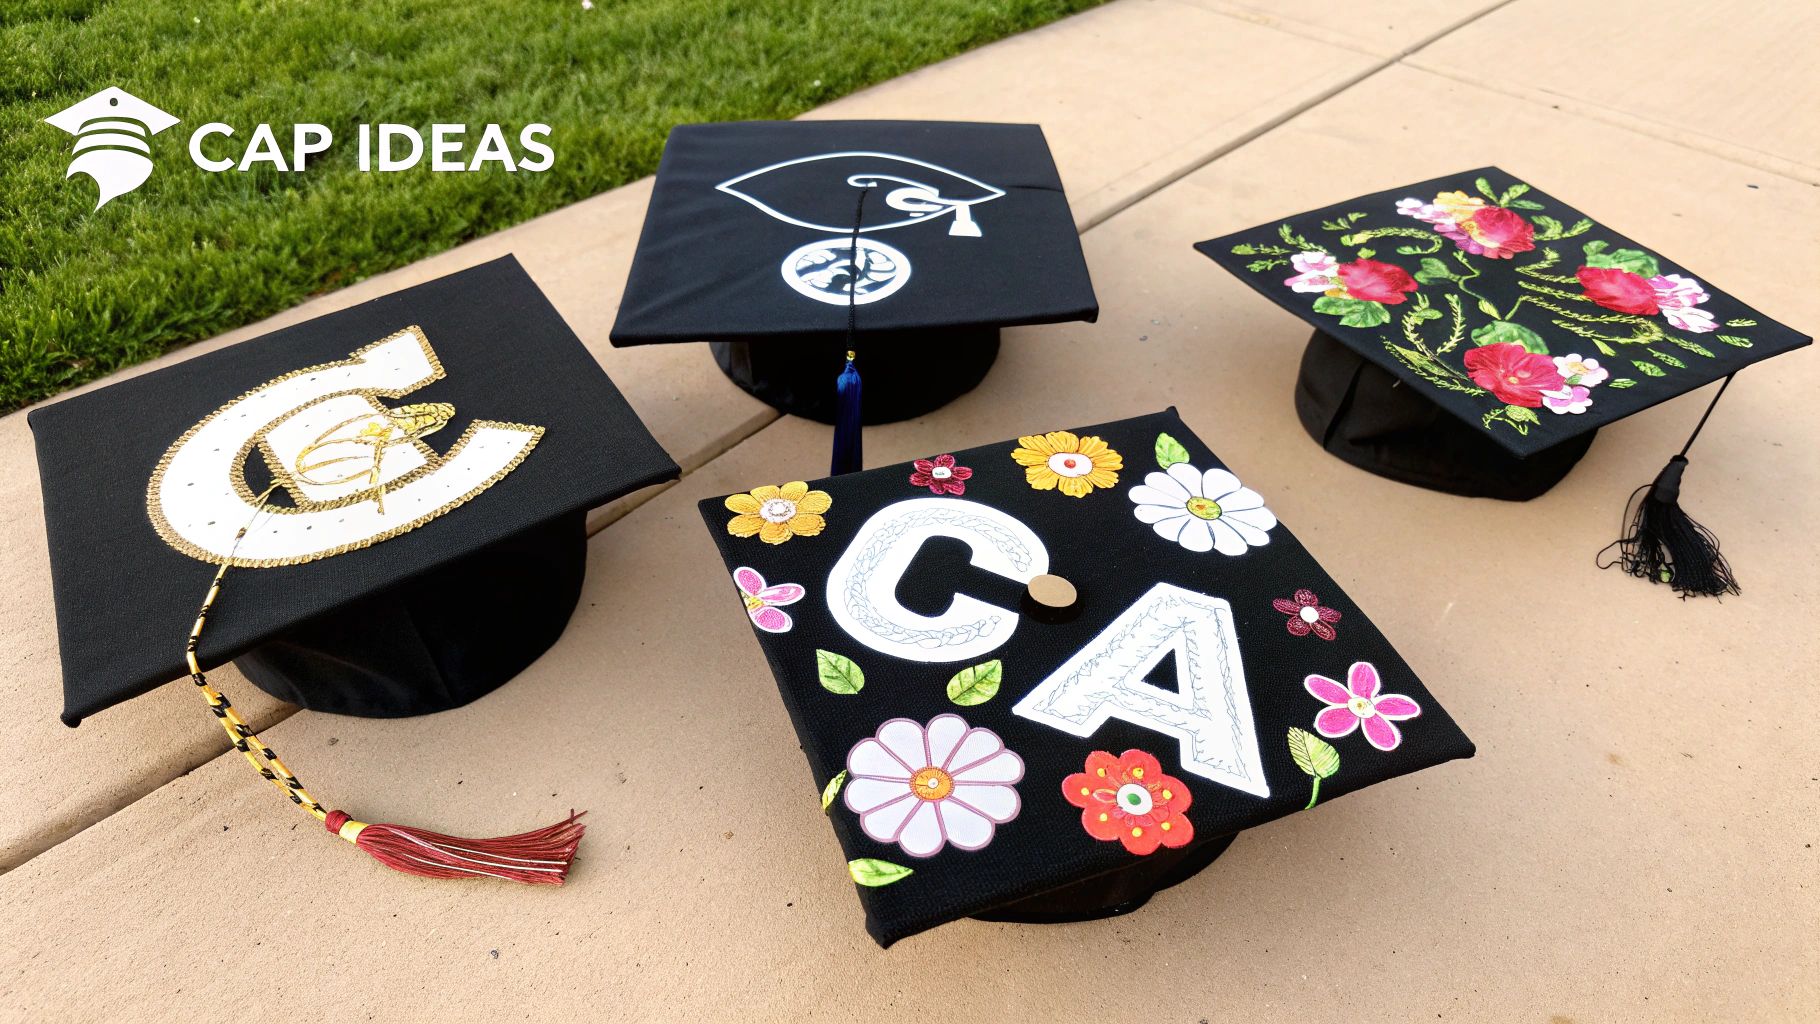
This section is packed with popular high school graduation cap ideas to get your own creativity flowing. We'll look at everything from heartfelt tributes to hilarious inside jokes, exploring themes that graduates come back to year after year.
Celebrate Your Next Chapter
One of the go-to themes is all about the future. It makes sense, right? Your cap is the perfect spot to show off what’s next, whether you’re heading to college, joining the military, jumping into the workforce, or taking a gap year to see the world.
This theme is all about ambition and excitement. It’s basically a walking announcement of your next big adventure.
Here are a few ways I’ve seen students nail this look:
- College-Bound: This is a classic. Feature your future college’s logo, mascot, or colors. You can’t go wrong with a simple, proud "Future [University Name] Student."
- Career Goals: Are you an aspiring nurse, programmer, or welder? Use symbols of your future profession—a stethoscope, lines of code, or a blowtorch. It’s a cool nod to your professional journey.
- Military Service: A powerful and respected statement. Honoring your commitment with the emblem of your chosen military branch is always a standout.
A Heartfelt Thank You
Let’s be real: graduation isn’t just your achievement. It’s a huge milestone for every single person who supported you. Dedicating your cap to your family, a favorite teacher, or your ride-or-die friends is a beautiful way to show some gratitude.
Think of it as turning your cap into a public thank-you card.
- For the Parents: A simple "Thanks Mom & Dad" surrounded by flowers or done up in your school colors is a classic for a reason. I've even seen students glue a tiny, laminated photo of them on the cap.
- Mentor Tribute: Did a specific teacher or coach totally change your perspective? Use a quote they always repeated or a symbol that represents their impact on you.
- Friendship Shout-Out: If you and your crew are decorating caps, why not create a connecting design? Or just use an inside joke that perfectly sums up your four years together.
Your graduation cap is more than just an accessory; it's a reflection of your journey. A design that honors your support system makes the day even more special, not just for you, but for them as well.
Get a Laugh with Humor and Memes
If your personality is more class clown than valedictorian, a funny graduation cap is a must. Humor is an awesome way to let your personality shine and give your friends and family a good chuckle as you walk across that stage.
Just think about what made you laugh during high school. A specific TV show? A viral meme? The sheer absurdity of it all?
Funny cap ideas almost always include:
- Puns and Wordplay: Think "Finally Done with My 12-Year Sentence" or a simple "I'm Done-ish."
- Pop Culture References: Use a quote from a favorite show like The Office ("I am ready to face any challenges that might be foolish enough to face me") or whatever meme is currently breaking the internet.
- Honest Reflections: A cap that says "I Googled My Way Through High School" is not only relatable but guaranteed to get some laughs.
Personalization is what’s driving all the amazing graduation cap designs we see today. A record 3.8 to 3.9 million U.S. high schoolers are getting ready to graduate, and more of them want to express what makes them unique. With only around 35% of graduates in states like California heading straight to four-year colleges, many are using their caps to showcase career goals or other paths. This shift toward individual expression is why Gradshop focuses on giving high school students quality regalia, including customizable pieces like 'Class of' stoles and tassels, so every graduate can create a look that's 100% them.
Showcase Your Passions and Hobbies
Your cap is prime real estate for celebrating what you love. Whether you’re an artist, an athlete, a musician, or a total bookworm, you can turn that hobby into a stunning design. This is one of the best high school graduation cap ideas because it’s so deeply personal.
- For the Artist: Go for it! Paint a miniature version of a famous masterpiece or create a cool abstract design with your favorite colors.
- For the Athlete: Use your jersey number, a team photo, or a silhouette of you playing your sport.
- For the Book Lover: A stack of books with the quote "So the adventure begins" is both elegant and perfectly on-theme.
No matter which route you take, the goal is to create something you’re proud to wear. This is your final high school project—make it one to remember.
Pulling It All Together: Coordinating Your Cap with Your Regalia
Your decorated cap is your moment to shine, but it doesn't stand alone. To really nail your graduation look, you need to think about the whole picture: your gown, stole, tassel, and any honor cords you've earned. When your cap design works in harmony with the rest of your regalia, it elevates your entire outfit from just a cap and gown to a cohesive, personal statement.
Think of it this way: your regalia tells the traditional story of your academic achievement, while your cap is your personal signature on that story. The trick is to make sure your creative flair complements the formal look, rather than clashing with it. A little bit of planning here goes a long way in making you look polished and proud in all those graduation photos.
Matching Your Design to Your Gown and School Colors
First things first, let's talk about the gown. It’s the biggest piece of your outfit and sets the backdrop for everything else. Most high schools stick to their primary colors, which usually means you'll be wearing something like black, royal blue, or white.
This base color is your canvas. Got a deep navy blue gown? You could bring in complementary colors like gold, silver, or crisp white for a classic, elegant cap design. Or, you could lean into a monochromatic look with different shades of blue for a really sophisticated vibe.
Here are a few ideas based on common gown colors:
- For dark gowns (black, navy, maroon): Bright, high-contrast colors are your best friend. Think gold, silver, white, or even vibrant pastels. They'll really make your design pop.
- For light gowns (white, gold, light blue): You can go bold with deeper, richer colors for a striking contrast. Metallic accents also look fantastic and add a celebratory shimmer.
A great pro-tip is to stick to two or three main colors for your cap design. If you make one of them a primary school color, you'll create an instant connection to your official regalia. It’s a simple move that makes your cap feel intentional and part of the whole ensemble.
Of course, the whole outfit needs to look and feel right. For some essential day-of tips, check out our guide on how to wear a graduation cap correctly.
Weaving Stoles and Honor Cords into Your Theme
Those stoles and honor cords draped around your neck are more than just accessories—they're symbols of your hard work. Whether it’s an honor society stole, a club cord, or a cultural Kente stole, these pieces are packed with meaning and often come in brilliant colors. Using them as inspiration for your cap is a fantastic way to create a look that's both coordinated and deeply personal.
For instance, if you're wearing a bright gold honor cord for your GPA, why not weave some gold glitter or rhinestones into your cap design? It’s a natural fit. If your National Honor Society stole is blue and gold, using those exact shades in your lettering or floral accents ties it all together beautifully.
Think about what the colors represent and how you can echo that on your cap:
| Honor Cord Color | What It Often Means | A Fun Cap Design Idea |
|---|---|---|
| Gold | High honors, academic excellence | Use gold leaf, metallic paint, or glitter for borders and lettering. |
| Royal Blue | Leadership, service | Add some royal blue flowers or write out your favorite quote in a blue paint pen. |
| Red, White, & Blue | Patriotism, JROTC, civic honor | A subtle American flag motif or some stars in these colors can be a powerful tribute. |
| Green | Field of study (e.g., environmental club) | Weave some faux green leaves or vines into a floral design to complement the cord. |
| Silver | Distinction in speech or arts | A sprinkle of silver rhinestones or glitter can add a sparkle that reflects this achievement. |
These cords and stoles are a testament to your journey. By mirroring their colors on your cap, you're celebrating those achievements in a way that’s impossible to miss. Gradshop has a huge collection of high school honor cords and stoles, so you can easily find the perfect shades to match your design and honor your accomplishments.
The Tassel and Final Touches
Last but not least, don't forget the tassel! It’s the finishing touch. Most tassels come in your school colors and might have a little metallic year charm. While you can’t really decorate the tassel itself, you can make sure your cap design gives it the space it deserves.
When you're laying out your design, be mindful of the button in the center of the mortarboard. You'll want to leave a little bit of clear space around it so the tassel can swing freely, especially for that iconic turning-of-the-tassel moment.
To pull your entire look together without any stress, consider getting your complete regalia from one place. Gradshop offers perfectly matched sets of high school caps and gowns, which guarantees your gown, cap, and tassel are all the exact same shade and material. It takes all the guesswork out of the equation and ensures you look polished and put-together on your big day.
Answering Your Top Cap Decorating Questions
As you get ready to design your cap, a few questions are bound to come up. That's totally normal. To help you get started on your masterpiece with total confidence, let’s tackle the most common things students and parents ask when bringing their high school graduation cap ideas to life.
What If I Have To Return My Cap?
This is the big one, and for good reason. Most schools let you keep your cap as a souvenir, but you absolutely have to confirm their policy first. If your cap is just a rental, you can't decorate it directly.
The perfect workaround is to create a removable topper. Just cut a piece of cardstock to match the exact size of your mortarboard and design everything on that separate piece. You can then attach it for the ceremony with some strong, but removable, double-sided tape. After all the photos and celebrations, you can just peel off your custom design to keep forever and return the cap in pristine condition.
A simple way to avoid any last-minute stress is to buy an affordable, high-quality cap just for decorating. This gives you complete creative freedom without worrying about rental rules or potential damage fees.
How Do I Keep Things From Falling Off?
You’ve spent all this time creating something amazing—the last thing you want is for a piece to fall off right as you’re walking across the stage. The key is using the right adhesive, especially for heavier, 3D items.
For things like faux flowers, big bows, or other bulky embellishments, a hot glue gun is your best friend. It creates a strong, fast bond. For flatter decorations like rhinestones, fabric, or ribbon, a powerful craft adhesive like E6000 is fantastic because it creates a permanent, secure hold. Whatever you use, be sure to apply enough adhesive and press the item down firmly for at least 30-60 seconds so it can set properly.
When Should I Start Decorating?
Whatever you do, don't leave this project for the night before graduation. Trust me, procrastination will only lead to stress. A good rule of thumb is to start decorating at least one to two weeks before the big day.
This gives you plenty of breathing room for the whole process:
- Brainstorming what you want to do.
- Shopping for all your supplies.
- Sketching out your design.
- Carefully putting it all together without feeling rushed.
Most importantly, it gives any paint or glue more than enough time to dry completely. Some heavy-duty adhesives can take up to 24 hours to fully cure. Starting early turns this from a frantic last-minute chore into a really fun and meaningful part of the graduation experience. And for more tips on getting your regalia just right, check out our guide on how to put a tassel on a graduation cap.
At Gradshop, we believe every graduate deserves to celebrate their achievements in style. Find everything you need to complete your look, from perfectly matched high school caps and gowns to a full range of honor cords and stoles. Visit Gradshop.com to find high-quality regalia that will make your graduation day unforgettable.